
Visit https://vpn.dakotacollege.edu to download the GlobalConnect VPN Agent. Please note, you will need to be off campus to download the agent and access the VPN. If your using a PC, choose the Windows 64 bit agent option.
Click on the MSI executable to start the installation process. Follow the on-screen prompts to finish the software setup.
Please Note: You will need to use Make Me Admin to promote yourself to a temporary administrator of your computer to install this app. Search for Make Me Admin on your computer and push the button to grant yourself the administrator privileges. When prompted by the UAC for your credentials, provide your NDUS credentials to begin the installation process.

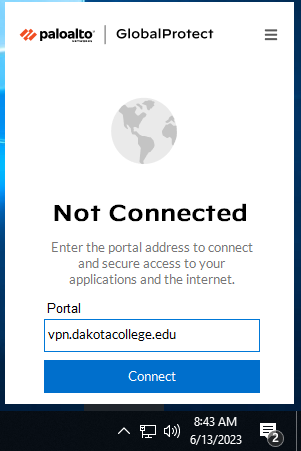
When you click it, click the Get Started link. For the Portal field, type vpn.dakotacollege.edu and click Connect.
You will then see a window popup for NDUS, provide your NDUS credentials to finish the authentication process. The agent status window should now say it's Connected.
File server address: contact the IT department for the specific folder path you need. You will need to enter the folder path in the address bar of a File Explorer window. Press enter and you should get this network credentials prompt.

If you are prompted again to enter your NDUS credentials. You may need to specify the domain this time. For example, your username should be NDUS\first.lastname.
If you're working from a campus owned and domain joined laptop, you shouldn't need to provide additionals credentials once you're connected to the VPN.
Check the box next to Remember my credentials so you won't need to enter them next time you connect.